
Equipment in type B and C rooms
Type B room
A type B room has multiple displays, an extended microphone system, and dedicated audio and video processing and distribution.
Show equipment
Equipment specified for the project
- one presentation display of at least 85 inches on a motorised stand
- two additional presentation displays of at least 60 inches
- an all-in-one presentation computer
- a 4K auto-tracking camera with at least 12× optical zoom
- two ceiling microphones, a soundbar and an additional wireless microphone set
- a video-conferencing processor plus HDMI distribution and signal extension
Type C room
A type C room is built around a single interactive display with an integrated computer and a more compact audio and video-conferencing system.
Show equipment
Equipment specified for the project
- an interactive 4K display of at least 74.5 inches on a mobile stand
- an OPS computer built into the display and a wireless keyboard with touchpad
- a 4K auto-tracking PTZ camera with at least 12× optical zoom
- one ceiling microphone covering at least 60 m²
- a pair of active speakers
- an audio matrix with Dante connectivity and a managed network switch for AV traffic
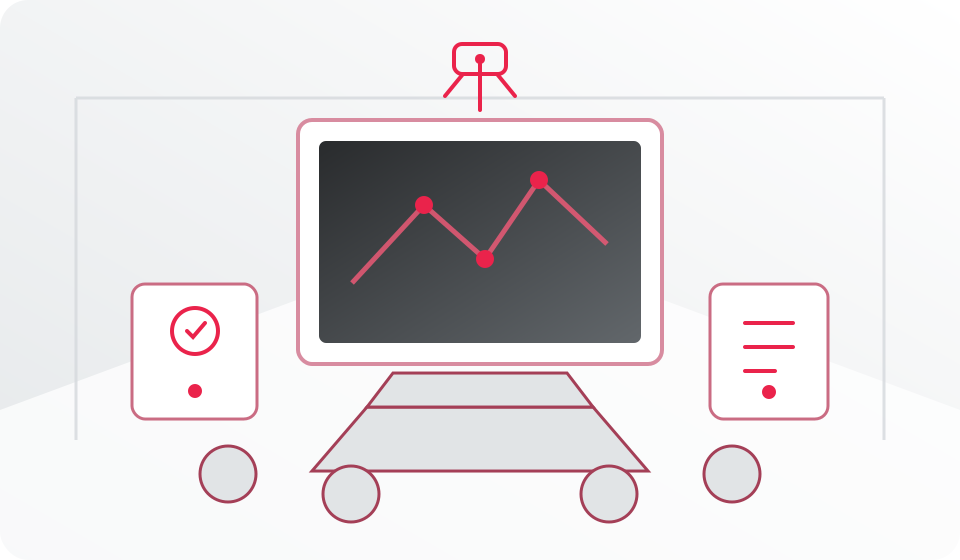
Visual overviewHow is the room system organised?Open a simplified view of the main components and signal flow.
Open a simplified view of the main components and signal flow.
The diagram does not represent actual device placement or individual equipment models.
Multiple displays and dedicated AV processing
Interactive display at the centre of the system
All room guides in one place
Choose a room or procedure. Only the guide you need will be shown.
How to start, connect to and shut down the room equipment.
Before the session
- Arrive a few minutes early and check that the control station is clear and ready.
- Start the system at the labelled control point. Do not disconnect or rewire permanently installed equipment.
- Select the built-in computer or connect your laptop to the labelled HDMI or USB-C port.
- Select the appropriate video source on the display.
Picture, sound and remote participants
- Check that the presentation appears on the intended display.
- Check the volume and microphone, taking care to avoid feedback.
- Start the camera and adjust the framing before remote participants join.
- Open Teams or another approved application and run a brief picture and sound test.
After the session
- End the meeting and sign out of personal accounts.
- Disconnect only your own laptop and accessories.
- Shut down the system at the labelled control point and do not change permanent settings.
If the equipment is not working, submit a Helpdesk ticket and include the building, room, time, selected video source and affected device.
How to start, connect to and shut down the room equipment.
Before the session
- Arrive a few minutes early and start the system at the labelled control point.
- Do not alter the cabling of permanently installed equipment.
- Select the built-in computer or connect your laptop to the labelled HDMI or USB-C port.
- Select the appropriate video source and check that the presentation is displayed.
Hybrid teaching
- Check the sound, microphone and camera before remote participants join.
- Adjust the camera to frame the lecturer or the required part of the room.
- In the meeting application, select the room microphone, speakers and camera.
- Before the class begins, run a brief test with a remote participant.
After the session
- End the meeting and sign out of personal accounts.
- Disconnect your own laptop and accessories.
- Shut down the system at the control point and leave permanently installed equipment connected.
If the equipment is not working, submit a Helpdesk ticket and include the building, room, time, selected video source and affected device.
Checks to complete before teaching in a multimedia room.
Equipment and controls vary between rooms, but the same basic functions should be checked before every hybrid class.
- Confirm the time, room and computer connection method in advance.
- Arrive at least 15 minutes early and test the display, sound, microphone, camera and internet connection.
- Open the presentation and video-conferencing application before remote participants join.
- Explain how participants should ask questions and check that people in the room and online can hear one another.
- After the class, sign out of your accounts and shut down the equipment as instructed for that room.
If the equipment is not working, do not change permanent system settings. Submit a Helpdesk ticket and include the building, room, time and affected device.
Information that helps technicians resolve the problem faster.
For faster resolution, submit a Helpdesk ticket containing:
- the building and exact room number,
- the date and time the problem occurred,
- the affected device or function,
- the error message and steps immediately before the failure,
- a screenshot or photo, provided it contains no personal data.
If a class is currently in progress, state that clearly in the ticket subject.